The Goal
The first step taken to set up the R. Links project is to give the robot the gift of sight. Without vision, it would be unable to make sense of its IMU (intertial measurement unit) and other sensors that will be added on later. The Xtion Pro Live will allow the “brain” to calculate things along the lines of what sort of terrain is being walked on, distance to an object, and current velocity. One of the most interesting components here is the velocity. Since there is no real way to sense velocity data, the motion sensor will be used to compare frames to calculate distance over time to find a velocity. Once we find the velocity, we can derive the acceleration (or change in velocity over time). In pseudocode we can calcuate the velocity with something ilke
    //get velocity at some time interval
    function store_velocity:
        velocity[] = get_velocity()

    function velocity_derivative(velocity[], time_interval):
        num_records = size(velocity)
        for i in num_records:
            f_xh = velocity(i+1)
            f_x = velocity(i)
            deriv += f_xh - f_x / time_interval
        //return average derivative
        return deriv/num_records
the real tricky part is using the device to get the velocity in ~.01 second. That, I am still working on.
The Device
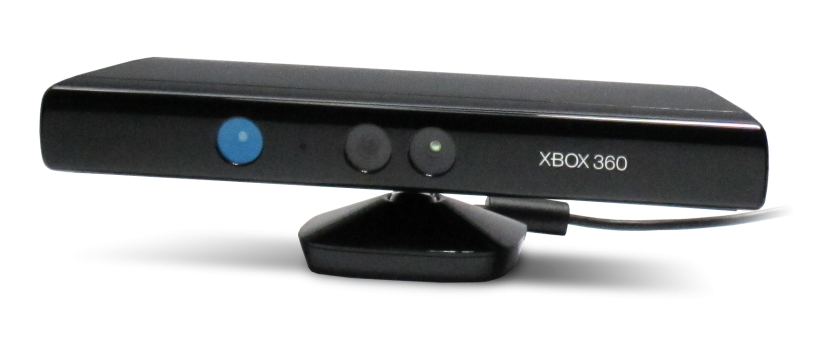
The Xtion Pro Live is a motion sensing device that can be used for development on the PC. This device uses infrared and depth detection to draw out a real-time image of the environment. The real kicker is that it works using the OpenNI library which comes with tons of great sample code to pull from.
The Setup
This is the tricky part. There are a few dependencies and some libraries you need to download. The setup is very similar to if you were using the Kinect, but Xtion does have some nice documentation. Initially (assuming you’re running Ubuntu 14.04 on a 4 bit system), you will want to run
sudo apt-get updatesudo apt-get install git g++ python libusb-1.0-0-dev libudev-dev openjdk-6-jdk freeglut3-dev doxygen graphviz -yNext if you go to the ASUS website, they have files that you can download for Ubunut with helpful README documents to walk you through downloading OpenNi and NITE. Once you have those files downloaded, it is fairly simple. You can run ./install.sh from the top directory and then navigate to the OpenNi folder. Once there you will see a Bin folder (if that doesn’t exist, you can run
makefrom one of the “Sample/*” folders that hold sample code). Once in Bin/x64-Release/, run
./Sample-<modulename>to run whichever module you’d like to test. If everything went smoothly, you should be able to view the output of that compiled code. Once you’ve got the samples working, you can review the Makefile of each sample to get an idea of how to create your own custom motion sensing code.

Comments